I think I have found a new
pass time (addiction) what ever you want to call it. This was way fun and the etching part really is quick. This looks way cute too. I had a hard time with the pictures so after about 50 shots (no kidding) these are the best. It's a bit hard to see the detail of it and how cute it really looks so you'll have to take my word for it. Can I just say...Awesome Gift!

Supplies you will need:
Con-
tac paper (if you live in Halifax I have enough for all of metro just ask me for some)
Etching Cream
Paint brush
Print your words/designs out of word
Self healing mat ( your hubby would be mad if you carved the kitchen table)
Exacto knife
Glass Bowl

First print off the words and designs you want on paper. I just used
Microsoft word and chose pictures they had. I changed the size to fit the bowl I was etching.

Cut out the words leaving 1" on all sides and tape it down to the Contact paper.

Using your crafting
exacto knife cut out the letters. Note for the E and O you will need to keep the inside pieces so that you stick it on the jar as well.

Peel back the sticker and stick it to your dish. Because it's a circular dish your going to have to cut it and make it fit. Don't worry about the outer edges just make sure the letters are sealed properly to the dish.

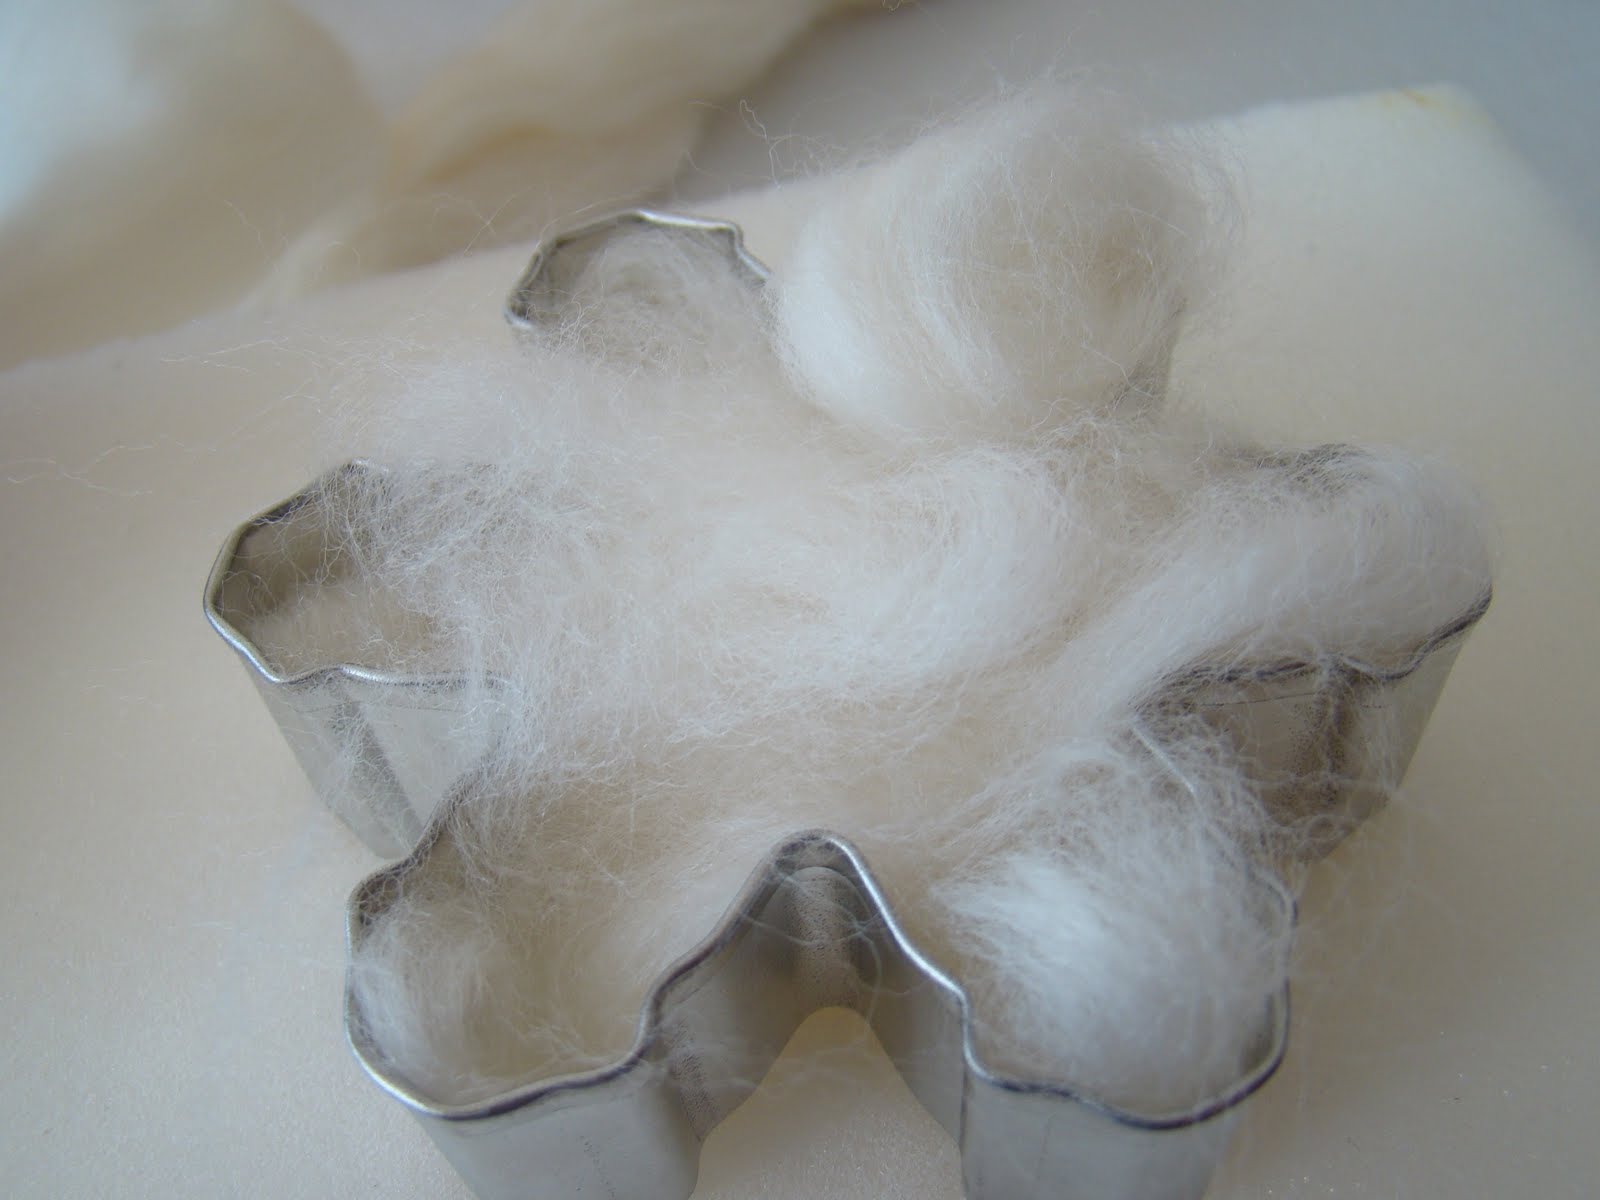
Repeat the steps for the snowflakes. Once you have all the stencils stuck to the bowl apply the etching cream with a paint brush. Let it sit for about 2 min.
Rinse under warm water and then peel back the stickers and voila.

So simple and so cute. You could put candies, colored rocks, water and cranberries. Really this bowl could be used for just about anything. Here's what it looks like as a candle holder.

If any of you try this out I'd love to see how yours turned out.
Happy Creating, Meaghan, Monica and Nancy


 But let me tell you, it was all worth it when I saw how excited Tato was to see his cake. He had a super fun birthday party and enjoyed his cake. I thought the smoke coming out of the train was a cute added touch.
 Happy Birthday Tato, Auntie Nana loves you!
 But let me tell you, it was all worth it when I saw how excited Tato was to see his cake. He had a super fun birthday party and enjoyed his cake. I thought the smoke coming out of the train was a cute added touch.
 Happy Birthday Tato, Auntie Nana loves you!
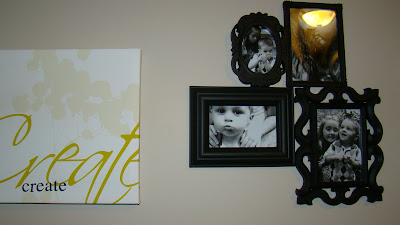 Currently if you could actually see my desk that is under this inspirational wall mount it would leave you less than motivated but hey it is Christmas time and I've got to start somewhere.