Photobucket        Photobucket        Photobucket        Photobucket        Photobucket       
Showing posts with label Tutorial. Show all posts

Thursday, March 24, 2011

I am momma - Boys Shirt Entry - Freezer Paper Stenciling

Here is the shirt I made for the I am momma Hear Me Roar Boys Shirt Contest.  I got together with a friend of mine Karlie and we made some sweet shirts for our boys.  Doesn't her little boy "J", make Buddy Boys look ginormous?  Can I just say here that Buddy Boy's Birthday is this week and he turned three, Happy Birthday to my "Big Boy" (he hates it when I call him my baby). 
First things first.  I used Picnik to create the image that I wanted to use to make his shirt.  There are so many options that you could spend the day making some cute designs.  I saved the image onto my computer and then opened a Word document and re sized the image to fit both shirts and simply printed them on white paper.
Because there are some overlapping images I simply traced the different layers of images onto the freezer paper.
I used a little crafter's exacto knife to cut out the image from the freezer paper.  Make sure to put a self healing mat underneath your design or your hubby may get really angry when he sees what you've done to the table top.
Simply iron the freezer paper onto the shirt where you want the image to appear.
Apply the fabric paint using a paint brush and always brush towards the centre of each cut out so you don't push the paint under the freezer paper.  That would cause the image to not come out as you want it to.
Once the first layer of paint is dry, (my paint's instruction said four hours, but I used my hair dryer to dry it up and it was dry enough in a few minutes) iron on the next layer of words onto the shirt where you want them to appear.  Apply the desired paint colours to your stencil.

Once you pull away the freezer paper you can really see your image coming to life.
The last step was to cut the rock out of felt.  I found this grey felt at Michael's Craft Store and it had a rock design already on it.  It really made the shirt pop and come to life.  I sewed it on with yellow thread to accent the rock. 
Don't you think Boy's Rock!  I sure do.


Sunday, January 2, 2011

Repurposed Crayons

Buddy boys is having a birthday coming up in March. I have plans for his party but where I work full time if I don't get at it early I just can't seem to pull it off. He's turning three and this will be his first Big Boy party with friends so I want to make it fun for him. I'm doing a Bob the Builder theme. This crayons are going to be part of the party favors once I get it all together.


The first thing I did was ask the Librarian at Church to raid the kids crayons that she no longer was using or in need of. She gave me a big bucket full of them so this made this project really inexpensive to do. I really love that about do it yourself projects. You will need to bunch like colors together and remove the paper from them.

I saved a can from the Christmas baking I did. You can use any shape and size can you can get your hands on. If you wanted to you could get multiple cans going at the same time. So break up your crayons and put them in the tin can. Place the can in a pot of boiling water. You need about 2 inches of water in it. You don't want the can to float.

Let the wax crayons melt into a liquid and use a toothpick to stir it around and make sure there are no unmelted clumps in there. This will also help the colour be uniform if you are using different shades of the same colour.
You will need a mold. I bought a chocolate mold off eBay for about five dollars total including shipping. That was the only expense I had with this fun project. Place your mold on parchment paper on a baking sheet. If you happen to spill wax there will be no clean up required.
Pour the wax in the mold and let it sit until it hardens. You can speed the process up by placing the mold in the fridge or freezer.
Keep repeating the process until you get all the desired colours you need. This took me about 3 hours to do them all. If you live in Halifax and want to give this a try I have extra crayons you can have.

Sunday, December 12, 2010

12 Days of Christmas Crafting - Day 12 Gift Tags

We hope you have enjoyed our 12 days of Christmas crafting ideas and that you have been inspired to share a bit of yourself with the people in your life. The only true gift we can ever give is when we give of ourselves to others, just as the Savior gave His life for us. After all it is His birth, His example, and His life that we are celebrating this Christmas season. Last but certainly not least for our 12 days are these cute Christmas tags. What better way to top off a lovingly made gift than with a cute handmade tag! These are super easy to make and look darling.
First you start off with a die cut tag made with the Cuttlebug machine. If you don't have a cuttlebug, you can improvise by cutting a 2" x 2 1/2" rectangle of cardstock and punching a small hole at one end of it.
Next you cut a 1 3/4 x 2 3/8 rectangle out of a coordinating colour of card stock.

Take this rectangle and stamp "To: From:" on it.
Punch out a cute Christmas design at one end. glue this rectangle onto your die cut tag, loop a piece of cute Christmas ribbon through the hole and "Voila" you have a lovely hand made tag to attach to your lovingly made gift!

Aren't they adorable!
Well this sure has been so much fun sharing our creativity with you. If you don't have the pleasure of knowing Meaghan and Monica let me tell you a bit about these gals. They are hilarious, sweet, understanding, loyal, funny, caring, concerned, did I mention hilarious, and are some of the sweetest friends I have. I'm a better person because of them. Thank you ladies for humoring me and coming along for the ride with these 12 days of Christmas crafting. So signing off for our last post together (for now anyway)...
Happy Creating, Meaghan, Monica and Nancy

Saturday, December 11, 2010

12 Days of Christmas Crafting - Day 11 Christmas Fudge

Seriously, it would just not be right to post only one chocolate idea on the 12 days of Christmas, it's Christmas after all. Is there anything prettier than a box of fudge, all tied up with ribbon and given with love not a wonderful idea. I'm going to wrap up some fudge in my pretty little boxes and give them out to people I love. But I'm also going to wrap some up and find some folks who I wouldn't normally do something for and share the Hope of Christmas with someone who may be needing some extra love this time of year. I have been blessed with so much in my life that I feel especially this time of year it is better to give than to receive. So get baking and share some love too.Christmas Fudge
3 Cups Semi-Sweet Chocolate chips
1 Can Sweetened Condensed Milk
1 Tsp Vanilla
First you will need to line a 9x13 baking pan with parchment or wax paper. This will allow you to flip the fudge out with ease.
Next you will put the choc chips into a sauce pan over low heat and start to melt the chocolate chips.
Add one can of sweetened condensed milk. Once the chocolate chips look like they have begun melting start stirring.

This is what it will look like at first.

Keep stirring until you have what looks like a chocolate paste. Add the vanilla and stir.

Pour the chocolate into your lined pan and flatten it out using a spoon. If you had a small rolling pin that fit into your pan it may be easier. keep it about one inch thick. Once it is as level as you can get it place in the refrigerator and chill
I left it over night but you can just check back after a few hours. Use bite size Christmas cookie cutters to shape the fudge into yummy bite size pieces.
Doesn't that look super yummy. Now go think of something nice you can do for someone in need or someone needing to feel the Saviors love this time of year and let them know you care.

Happy Creating, Meaghan, Monica and Nancy

Friday, December 10, 2010

12 Days of Christmas Crafting - Day 10 Etched Bowl

I think I have found a new pass time (addiction) what ever you want to call it. This was way fun and the etching part really is quick. This looks way cute too. I had a hard time with the pictures so after about 50 shots (no kidding) these are the best. It's a bit hard to see the detail of it and how cute it really looks so you'll have to take my word for it. Can I just say...Awesome Gift! Supplies you will need:
Con-tac paper (if you live in Halifax I have enough for all of metro just ask me for some)
Etching Cream
Paint brush
Print your words/designs out of word
Self healing mat ( your hubby would be mad if you carved the kitchen table)
Exacto knife
Glass Bowl

First print off the words and designs you want on paper. I just used Microsoft word and chose pictures they had. I changed the size to fit the bowl I was etching.

Cut out the words leaving 1" on all sides and tape it down to the Contact paper.

Using your crafting exacto knife cut out the letters. Note for the E and O you will need to keep the inside pieces so that you stick it on the jar as well.

Peel back the sticker and stick it to your dish. Because it's a circular dish your going to have to cut it and make it fit. Don't worry about the outer edges just make sure the letters are sealed properly to the dish.
Repeat the steps for the snowflakes. Once you have all the stencils stuck to the bowl apply the etching cream with a paint brush. Let it sit for about 2 min. Rinse under warm water and then peel back the stickers and voila.
So simple and so cute. You could put candies, colored rocks, water and cranberries. Really this bowl could be used for just about anything. Here's what it looks like as a candle holder.
If any of you try this out I'd love to see how yours turned out.
Happy Creating, Meaghan, Monica and Nancy

Wednesday, December 8, 2010

12 Days of Christmas Crafting - Day 8 Felted Snowflake Ornaments

I have lots of fantastic crafty friends who love to share their talents with me. One friend in particular who shared her knowledge with me just last month, (and let me buy into her stash of goodies) is Teresa. We had a girls crafting day at Church and she put on the workshop on felting. I made my first snowflake that day. I have since sat down to make a bunch more out of necessity. You see this year Coconuts decided she wanted her own tree in the toy room. I agreed to it but told her we were not going to buy a whole extra set of decorations. Grammy gave us some old ornaments and beads she had but I still felt as though the tree was missing something. This is where the need for awesome felted snowflakes came in. Supplies you will need:
Foam block
Felting Needles (A regular needle will not work for this)
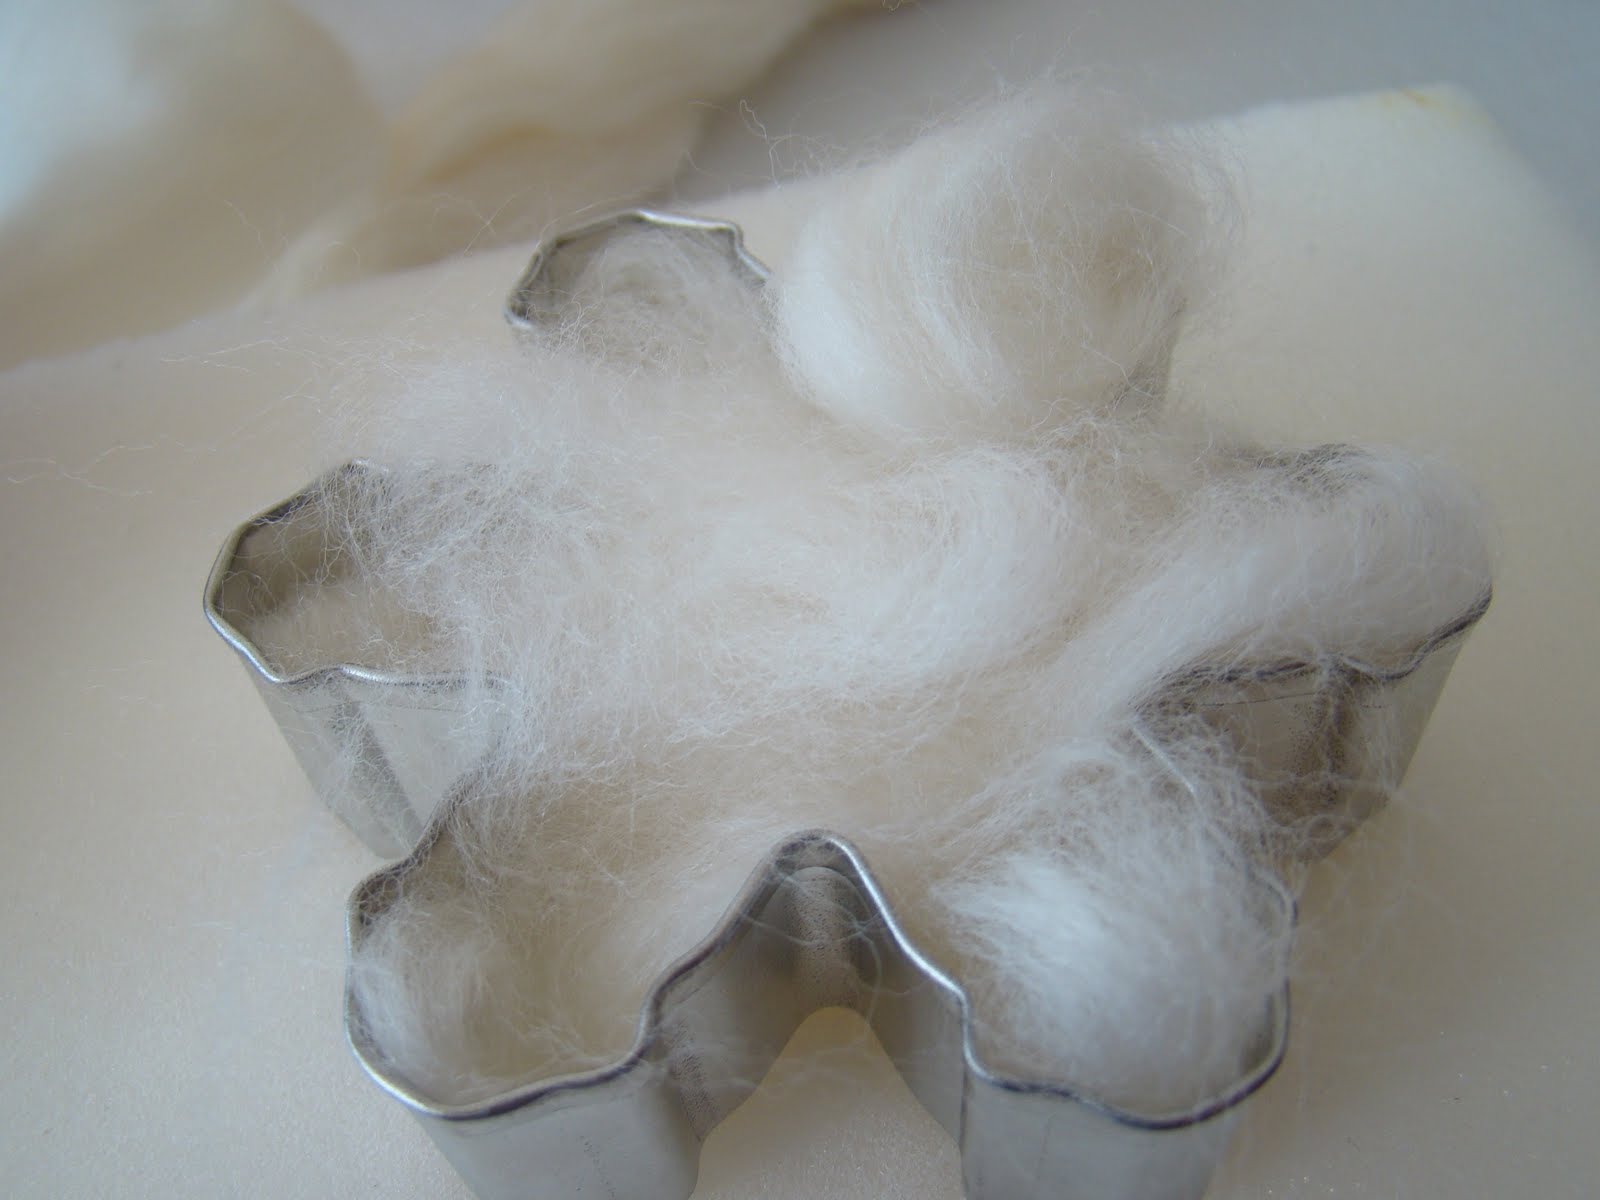
A cookie cutter in the shape you desire
Fleece (the fibers used to felt)
First you will break/tear a peace of fleece off and pull the fibers apart.

Stuff the cookie cutter as evenly as possible so that the ornament is the same thickness all around.
This is the fun, therapeutic part. Just stab the fleece all over. Make sure to go around the perimeter and all in between.

Can you see the one edge of the snowflake that is felted. It really compacts and brings the fibers together.
Once it is all felted down you actually need to pull it away from the foam block. It will be felted to the block so pull gently. Flip it back over and place it back into the cookie cutter and felt the other side of it.
This is the most important step. Be sure you have a mini-me crafter extraordinaire to help you make them. We were skipping out of Church that day cause Coconuts wasn't feeling well so it was the perfect project to keep her mind off how terrible she was feeling.
The final step of course is to put them all over your tree. I may embellish them with buttons and ribbon to hang them but I haven't decided cause I kinda like the look of them just leaning into the tree. What do you think, leave them or add embellishments?

I really like how the tree turned out and can I just say that this project cost me about $2 just to make the ones that are on the tree. I was really impressed with that savings.

Happy Creating, Meaghan, Monica and Nancy

LinkWithin

Related Posts Plugin for WordPress, Blogger...

Popular Posts